
MIDI & piano roll
MIDI devices, recording, step input, the piano roll, quantize, and transforms.
MIDI and Instrument tracks share the timeline with audio tracks, MIDI clips move and split like audio clips, and the piano roll opens from any MIDI clip. This page covers getting a controller in, recording, and the piano roll. Shortcuts are from the default OpenStudio keyboard profile; Ctrl is Cmd on macOS.
MIDI devices and track types
OpenStudio detects connected MIDI devices and lists them in the MIDI input selector on each MIDI or Instrument track header. If a controller is missing, connect and power it before launching OpenStudio, check that any vendor driver is installed, and restart the app.
A MIDI track (Ctrl+Shift+T, or Insert → New MIDI Track) records and plays MIDI data. An Instrument track (Ctrl+Shift+I, or Insert → Virtual Instrument on New Track…) is a MIDI track with a virtual instrument (VST3) loaded; the Plugin Browser opens automatically when you create one.
Recording MIDI
- Create a MIDI track (
Ctrl+Shift+T) or an Instrument track (Ctrl+Shift+I). - On an Instrument track, select a virtual instrument in the Plugin Browser.
- Select your MIDI input device on the track header.
- Arm the track for recording.
- Enable monitoring so you hear the instrument while you play.
- Press
Ctrl+Rand play. PressSpaceto stop. - A MIDI clip with the recorded notes and CC data appears on the timeline.
Notes are previewed on the timeline while recording. Arming and monitoring are covered in Recording & editing.
Step input and the virtual keyboard
Step input enters notes one at a time from the computer keyboard.
- Open the piano roll and enable Step Input in its toolbar.
- Choose the step size: 1/4, 1/8, 1/16, or 1/32 note.
- Set the octave for keyboard input.
- Press
C,D,E,F,G,A, orBto insert a note. The cursor advances by one step after each note.
The 88-key on-screen keyboard toggles with Alt+B or View → Show Virtual MIDI Keyboard. Clicking its keys sends notes to the selected MIDI or Instrument track, so you can sketch a part without a controller.
Step-sequencer state exists in the app, but no step-sequencer panel is mounted in the current build. Piano-roll step input is the supported workflow.
MIDI learn
MIDI Learn maps a controller CC to an exposed plugin parameter in a track or input FX chain.
- Open the track or input FX chain and expand the plugin parameter list.
- Click the MIDI Learn button beside the parameter.
- Move a CC control on your controller within ten seconds. Save the project to retain the mapping.
The piano roll
Double-click a MIDI clip to open the piano roll, docked below the arrangement or detached into its own window. It has a toolbar (Draw, Select, and Erase tools, step input, quantize, scale highlighting), a 128-note keyboard on the left that previews a pitch when clicked, the note grid, a velocity lane, and a CC lane.
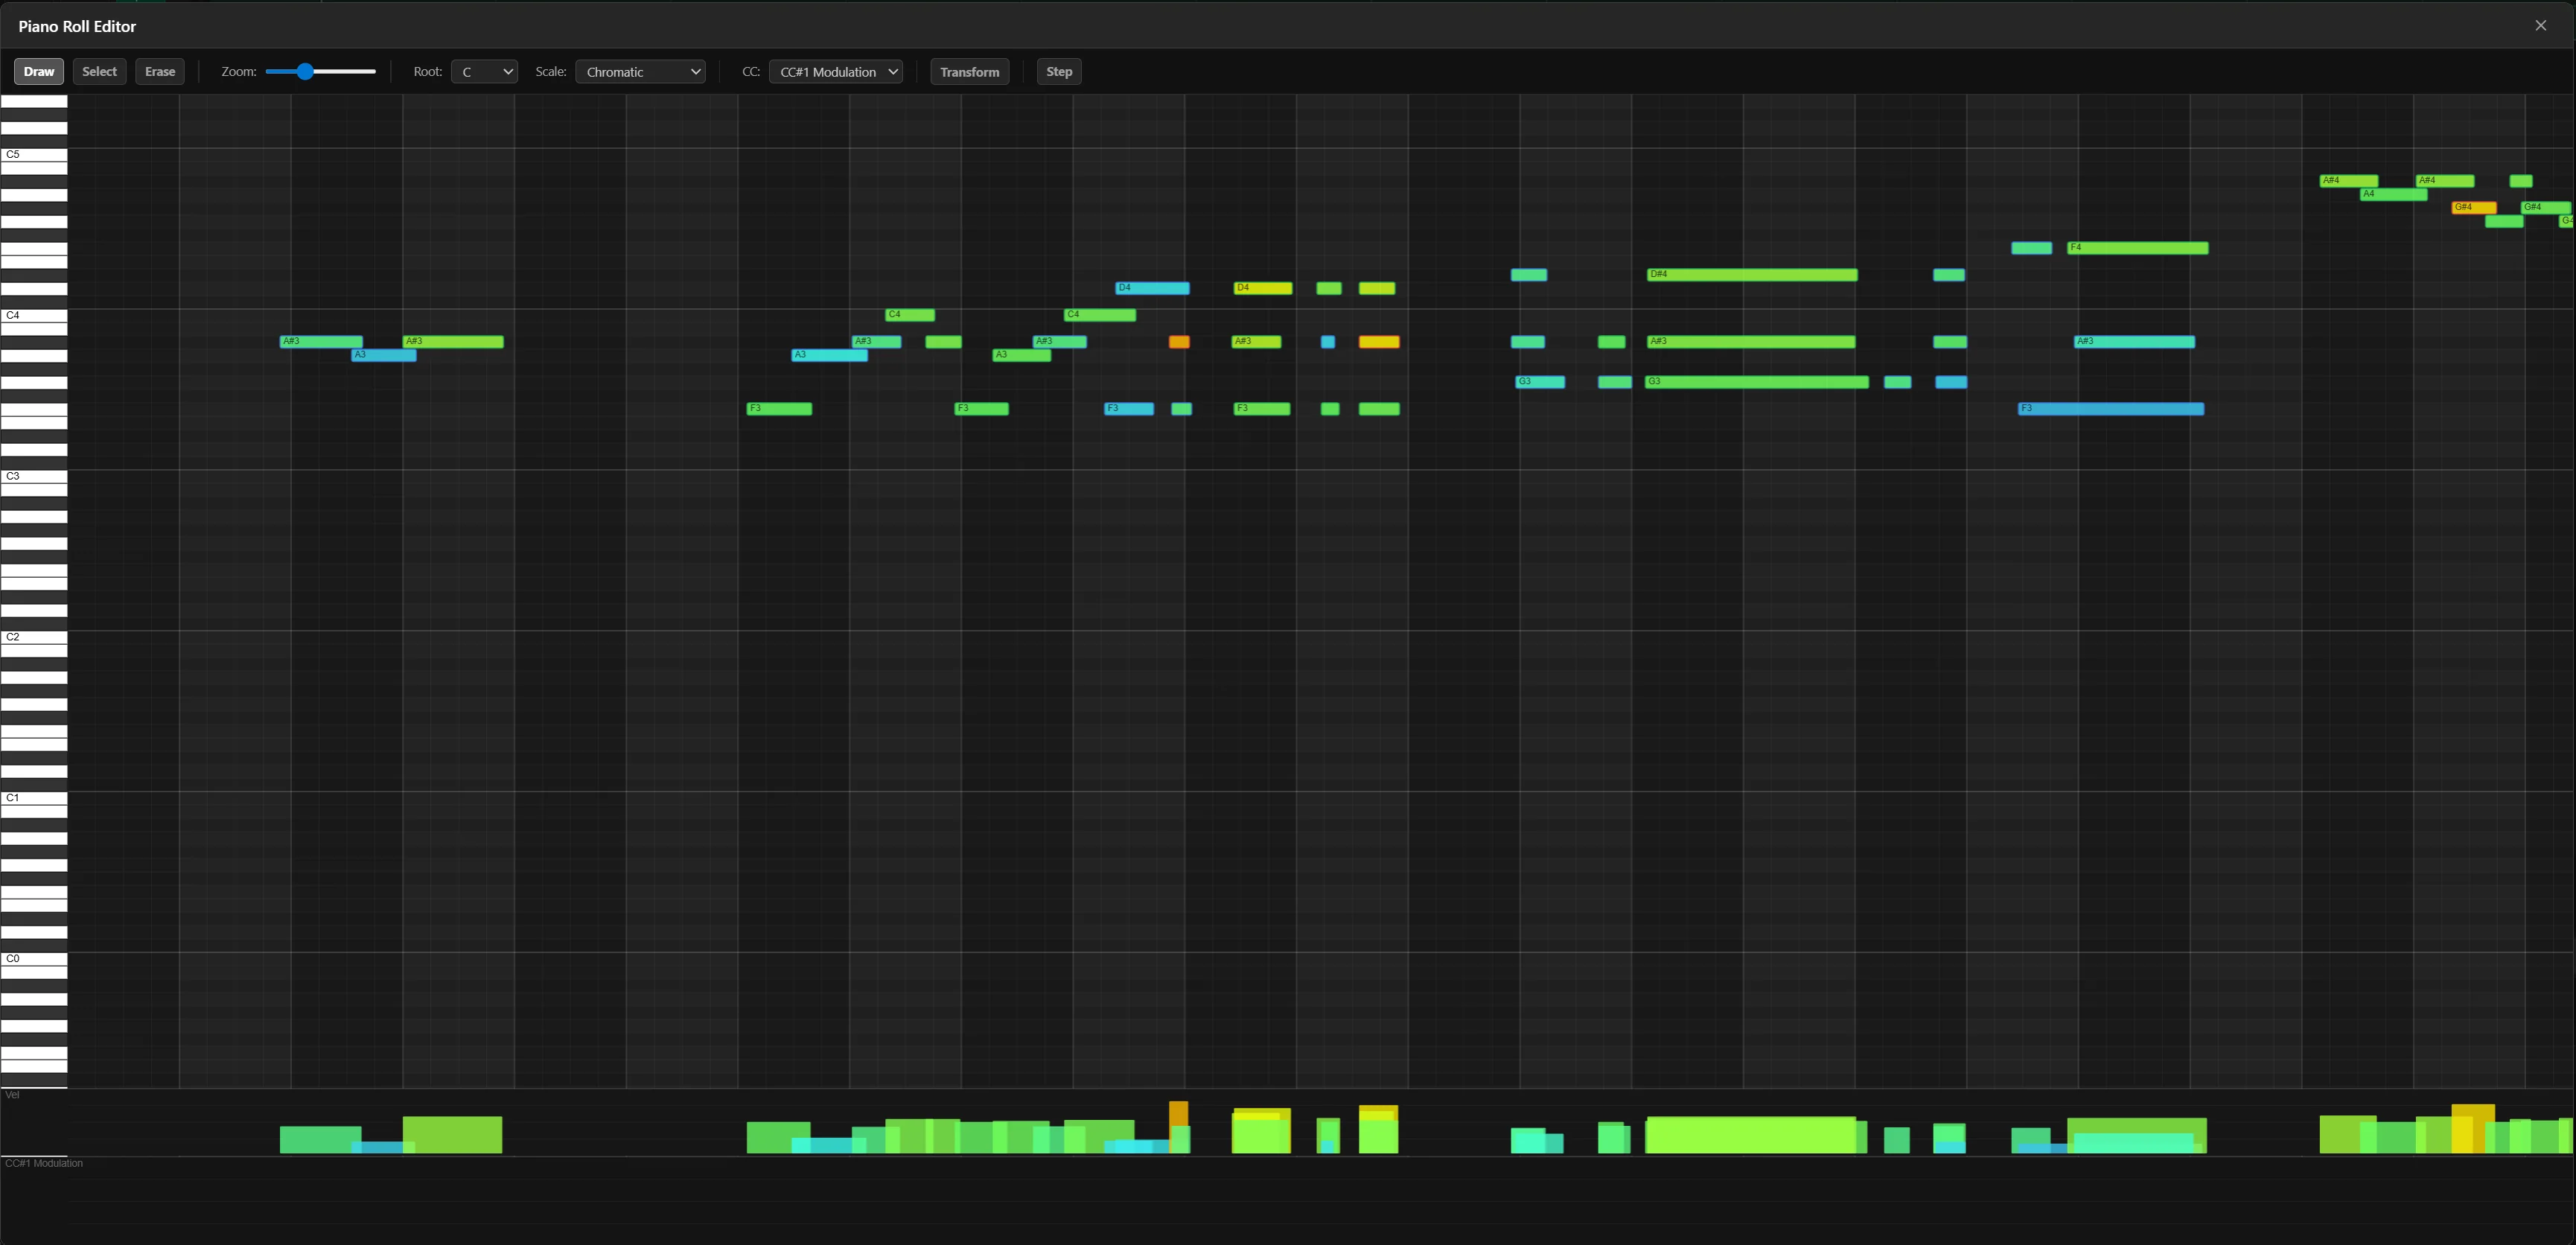
Snap, grid type, and the active quantize preset are shared with the arrangement view and saved with the project. When snap is on, drawing, moving, resizing, and splitting use the selected grid; hold Ctrl while dragging to place off-grid. Grid choices include bar, beat, straight, triplet, dotted, and time values; Adapt to Zoom picks a readable subdivision.
Drawing, selecting, and editing notes
- Draw: click in the grid to place a note at that row and column; drag while placing to set its length.
- Select: click a note,
Ctrl+Clickto add or remove from the selection, or drag on empty space to rubber-band.Ctrl+A(MIDI → Select All Notes) selects everything. - Move by dragging selected notes to a new pitch or time. Resize by dragging the right edge.
- Delete with
Delete, or click notes with the Erase tool. - Split, glue, mute, audition, range selection, and a note inspector are also available.
Velocity
Velocity (0–127) is shown as a bar per note in the velocity lane; drag bars up or down to change it. MIDI → Velocity +10% and Velocity -10% scale the selected notes.
CC lanes
Pick a controller from the CC lane dropdown, then click and drag to draw values from 0 to 127. Presets cover CC#1 Modulation, CC#7 Volume, CC#10 Pan, CC#11 Expression, and CC#64 Sustain. Pitch bend, 14-bit CC, program and bank select, pressure, note-off velocity, and probability lanes exist where exposed.
Quantize, transforms, and scale highlighting
- Select the notes, or press
Ctrl+Afor all. - Open MIDI → Quantize Notes… and choose the grid, strength, and whether note ends are quantized too.
- Press
Qlater to reapply the last-used settings without opening the panel.
Quantize applies the active preset to starts, ends, both, or note length, with strength, swing, tuplets, and catch ranges. Factory and custom presets are saved with the project. Reset quantize and freeze quantize actions also exist.
| Operation | Effect on selected notes |
|---|---|
| Transpose +1 / -1 Semitone | Moves notes up or down one semitone |
| Transpose Octave Up / Down | Moves notes by 12 semitones |
| Velocity +10% / -10% | Scales velocity by 10 percent |
| Reverse MIDI Notes | Reverses the order of the notes in time |
| Invert MIDI Pitches | Mirrors pitches around a centre point |
Transforms sit in the Edit and MIDI menus with no default key binding; use the menu, the Command Palette (Ctrl+Shift+P), or bind your own (Keyboard shortcuts).
To stay in key, pick a Scale Root and a Scale Type in the toolbar: Chromatic, Major, Minor, Dorian, Mixolydian, Pentatonic Major, Pentatonic Minor, or Blues. Notes outside the scale get a dimmed background.
Multiple clips, drums, and audio to MIDI
The piano roll can show several MIDI clips at once. The primary clip keeps the velocity colouring; the others are tinted (pink, green, yellow, indigo) so you can edit a part in context.
A Drum Editor action and state exist, but no drum-grid editor is mounted in the current workspace. Edit MIDI drum parts in the piano roll.
Audio to MIDI extracts note data from an audio clip using the bundled Basic Pitch model and creates an adjacent MIDI track, with undo, for editing, layering, or replacement.
Audio-to-MIDI inference is enabled in the ONNX-enabled Windows and Linux releases only. The small Basic Pitch model ships with the app; the generation and stem runtimes are a separate install, see AI Tools setup.