
Mixing & routing
Channel strips, sends, buses, the routing matrix, snapshots, and automation.
Mixing happens in the track headers, the mixer panel docked below the arrangement, and automation lanes on the timeline. This page follows the signal from a channel strip through sends and buses to the master, then covers groups, snapshots, automation, and metering. Shortcuts are from the default OpenStudio keyboard profile; Ctrl is Cmd on macOS.
The mixer panel
Toggle the mixer with Ctrl+M, View → Show Mixer, or the mixer icon in the main toolbar. It can also be detached into its own window. The Master strip is fixed on the left behind a divider; track strips follow in track order and can be reordered by dragging.

Each strip shows, top to bottom: track name and colour, a group badge, an FX indicator with the effect count (click to open the chain), the sends section, the pan knob, the volume fader with a +12 to -inf dB scale and a gain staging readout, a peak meter updated at 10 Hz, the S, M, and R buttons, and a phase invert toggle. A channel strip EQ modal also exists.
The master strip controls the final output volume and pan, shows the master peak meter, and has its own FX chain. It includes master mute; it has no track solo or record arm buttons. View → Show Master Track in TCP also shows it in the track control panel.
Volume, pan, solo, and mute
- Volume runs from -60 dB to +12 dB. Drag the fader or the track header knob; double-click the fader to reset to 0 dB.
- Pan runs from L100 through C to R100 with the selected pan law; equal-power is the default.
- Mute silences the track output. Solo mutes every track that is not soloed; several tracks can be soloed at once, and a soloed track still plays when others are muted.
- Solo and mute can be linked across tracks through a track group.
Sends, buses, and groups
A send copies a track's signal to a bus track: a shared reverb, a delay return, or parallel compression.
- Create a bus with Insert → New Bus/Group Track.
- On the source track, click the sends area of the channel strip or use its context menu, and pick the bus as the destination.
- Set the send level (0.0 to 1.0). Send pan and phase are available per send.
- Choose Pre-fader (send level ignores the track fader) or Post-fader (send follows it).
- Add effects to the bus. Its output feeds the master.
Sends can be enabled and disabled individually. If you already have the source tracks selected, Insert → Create Bus from Selected Tracks makes the bus and adds a send from each selected track in one step.
Track groups, VCA faders, and freeze
A track group links parameters so that moving one member moves them all. Select the tracks with Ctrl+Click or Shift+Click, right-click, and choose Create Group from Selected. The group gets a colour shown on headers and strips. Linked parameters are volume (relative offsets kept), pan, mute, solo, record arm, and FX bypass, adjustable in the group settings. Membership, removal, and deletion live in the channel strip context menu.
VCA-style grouping controls the volume of several tracks from one fader without creating a submix bus; the linked tracks move proportionally and keep their relative levels.
Freezing renders a track's FX chain to a temporary audio file so the plugins stop using CPU. Right-click the track and choose Freeze Track; a frozen indicator appears on the header. Unfreeze Track restores live processing. Lua has openstudio.freezeTrack and openstudio.unfreezeTrack.
Mixer snapshots and gain staging
Snapshots save and recall track volumes, pans, mutes, and solos. Click Save in the snapshots toolbar at the top of the mixer and name it. Click a snapshot button to recall it (undoable), or the trash icon to delete it. Use them to A/B two balances, keep several mix passes, or store reference levels.
Hover the gain readout to see the active clip gain, track fader, master gain, and their sum. These are gain settings, not measured audio levels at each stage.
Routing matrix and signal flow
View → Routing Matrix shows every route between tracks, buses, and the master in one grid. A track routing modal is also available; output channel selection and channel count are set per track. Sidechain routing into plugins is supported. Processing order on a track:
Audio input -> Input FX -> Track FX -> Fader / Pan -> Track output
                                 -> pre-fader send
                                               -> post-fader send
Input FX are pre-fader, so fader automation does not affect them; track insert FX are also pre-fader. The master receives tracks and buses routed to it. Chains and plugins are covered in Plugins & scanning.
Automation
The development checkout supports track volume, pan, width, mute and trim; instrument/bus pre-FX controls; MIDI velocity, pitch bend, pressure and CC; and master volume/pan. Host-exposed input FX, track FX and instrument parameters also have lanes. Open the track's envelope panel to select parameters. The native plugin gesture capture and Cubase shortcut changes below are unshipped working-tree changes reviewed on top of app commit 7f59cff.
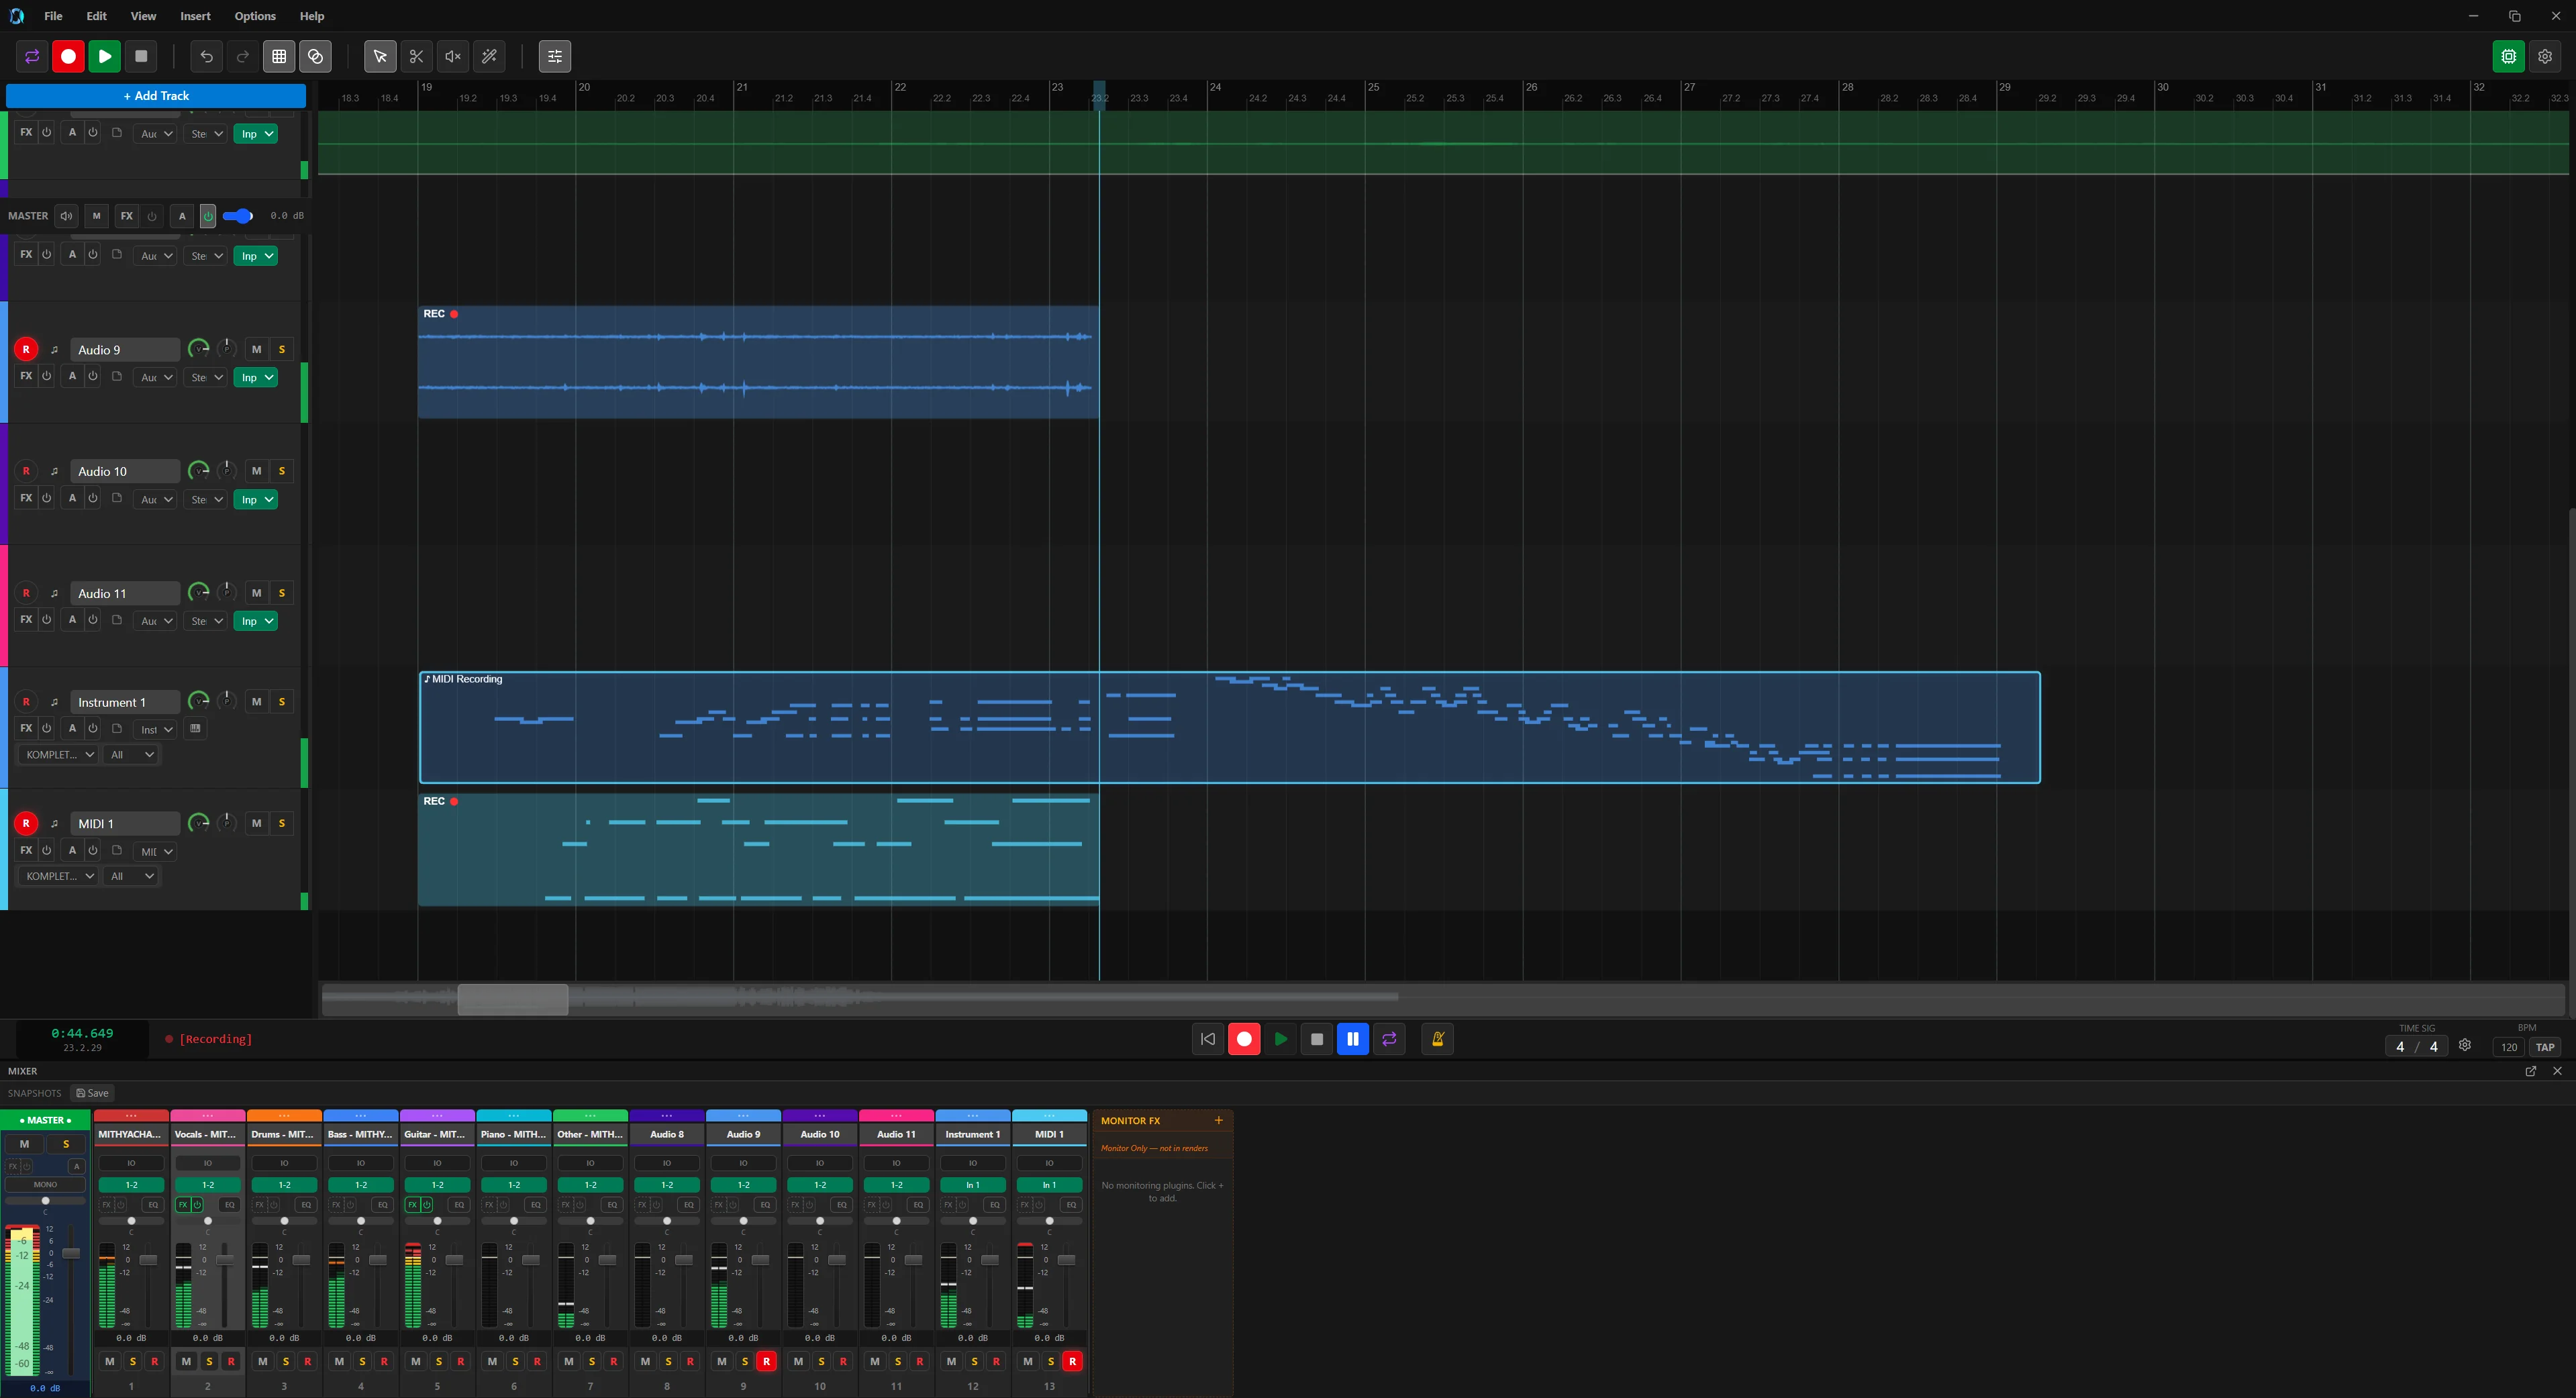
- Click on the lane to add a point; click and drag to draw several.
- Drag existing points to change their time or value.
- Select points and press
Deleteto remove them, or right-click the lane and choose Clear Automation to clear the parameter.
| Mode | Behaviour |
|---|---|
| Read | Automation plays back; manual changes are temporary. |
| Write | Arms controls for capture while playback or recording runs. Enabling it also enables Read; switching Write off leaves Read on. |
| Touch | Records only while you hold a control, then reverts to the existing curve. |
| Latch | Like Touch, but keeps writing the last value after release until the transport stops. |
| Overwrite | Writes armed lanes continuously across the traversed range. |
Use the track R/W buttons and the envelope panel's Write selector. The Cubase keyboard profile uses F6 for this panel, Alt/Option+R for all-track Read and Alt/Option+W for all-track Write. Master has separate R/W controls. Options → Move Envelopes with Items decides whether automation points follow a moved clip. Cubase Cross-over and advanced fill/trim workflows are not implemented.
Native VST3 editor changes, including isolated plugins, and eligible NAM Rack controls feed the automation writer. NAM model/IR files, calibration and configuration are not envelope targets. Kontakt libraries need host-automation assignments for controls they do not expose automatically; Komplete Kontrol supplies its mapped controls. CLAP editor capture, JSFX slider envelopes and master/monitor FX automation are not covered by this path. Capture is at control rate, not sample accurate.
Stopped knob edits are saved as plugin state. Save the project to retain them across reopening. Removing an FX closes its editor and removes its lanes; undo restores the saved plugin state and lanes. Reordering retains lane ownership. Failed plugin loads or rejected saved state are reported, and a missing plugin identity stops saving instead of shifting state onto another slot.
Metering panels
Track strips and the master strip have peak meters. View → Metering lists Loudness Meter and Phase Correlation as unavailable; there is no standalone Spectrum Analyzer panel in the current workspace.
Peak meters show level, not integrated loudness or phase correlation. Use a suitable metering plugin when you need those measurements.